Viper 1 of 1 Custom Build Experience
For the final year of Viper production Dodge introduced the 10f1 Custom Build Experience. This allowed buyers the opportunity to select from a wide seletion of options to create their dream Viper. Throughout the process, buyers would receive status updates and build pictures via the Viper Concierge Service. This helped to both increase excitement for my new ACR and make the four month build time more bearable.
Check out pictures from the process below.
Paint | Engine/Chasis | Final Assembly | QA
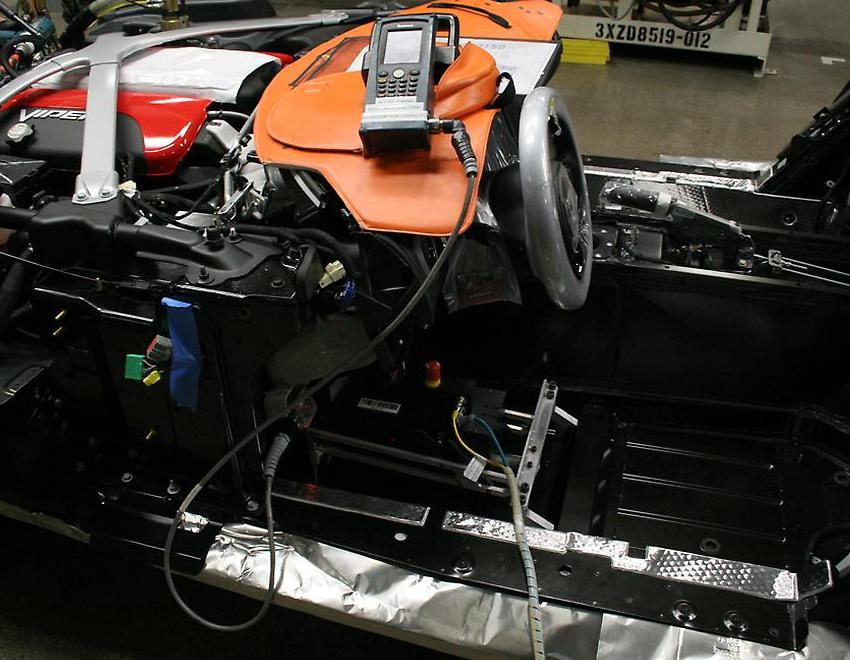
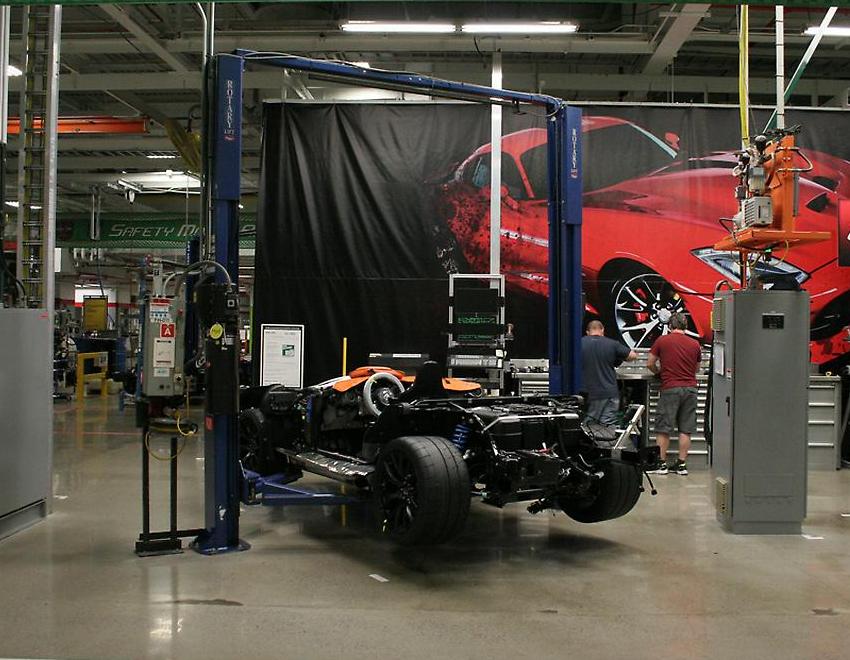
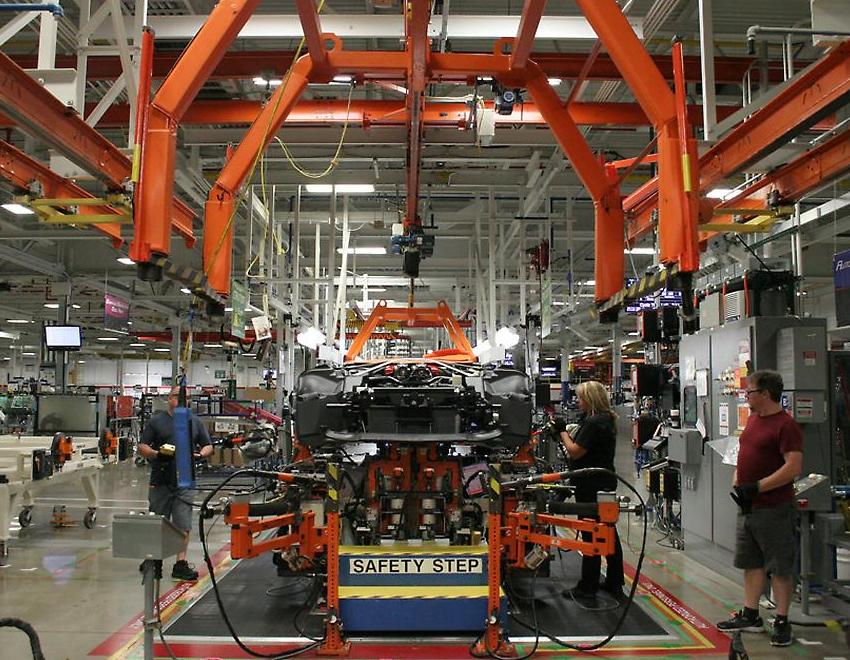
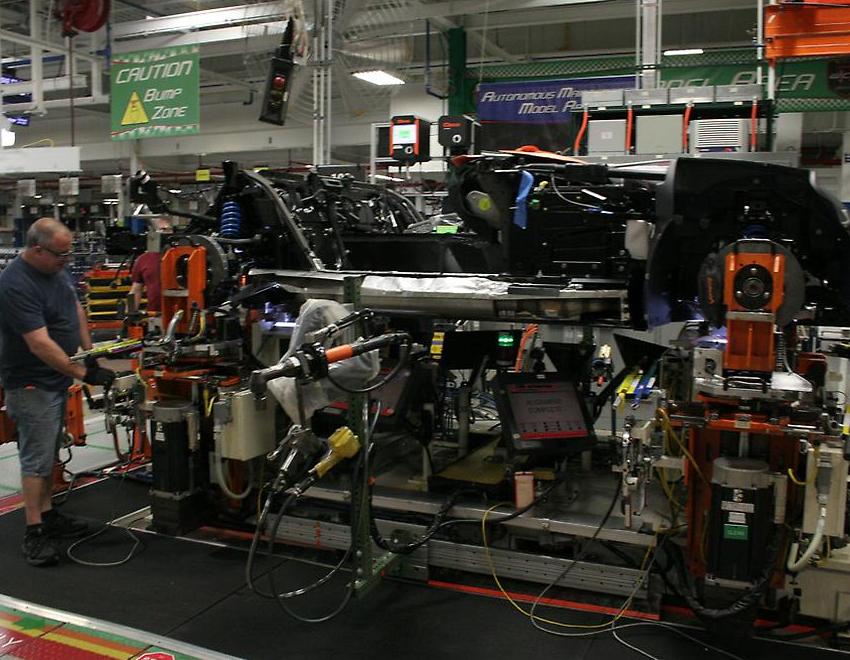
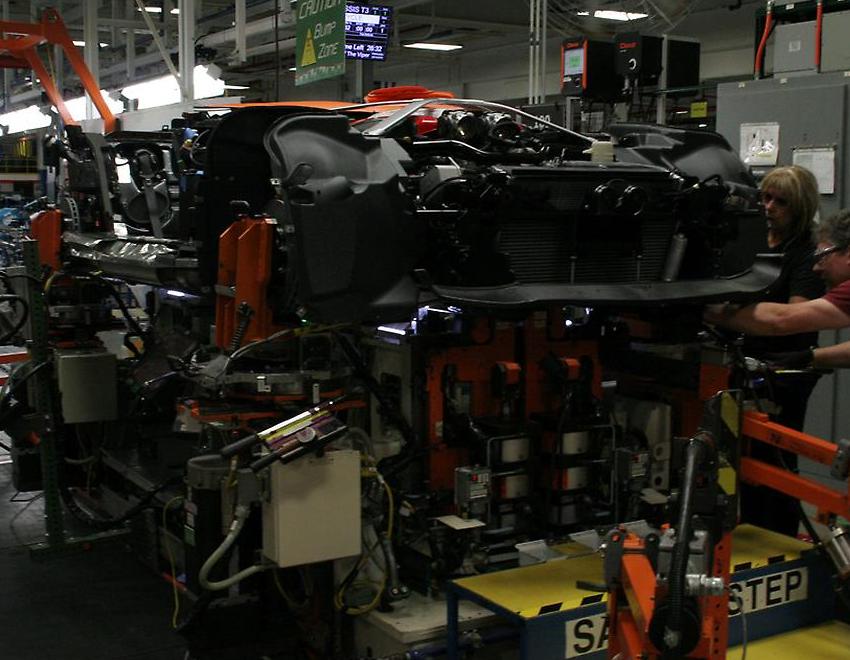
Engine and Chassis Assembly
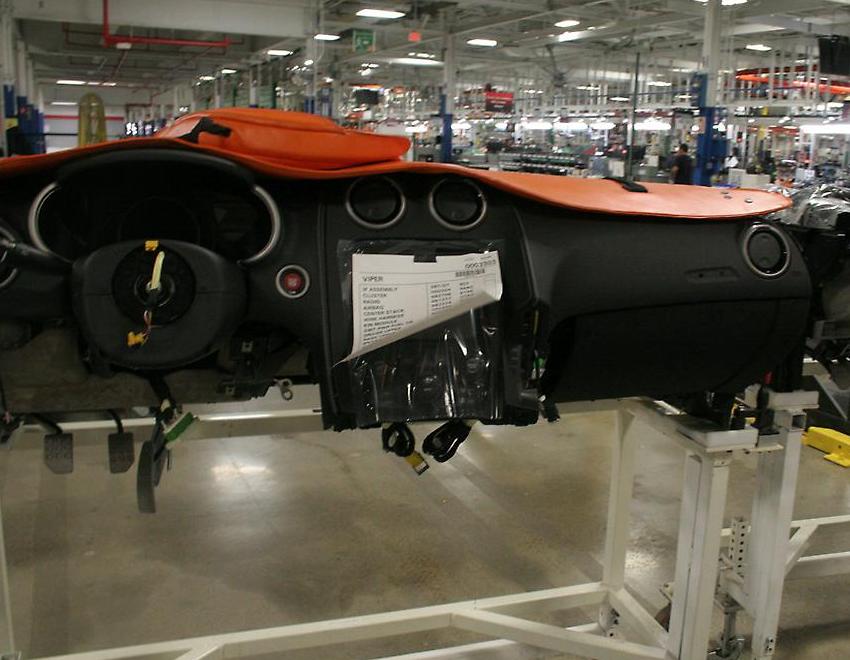
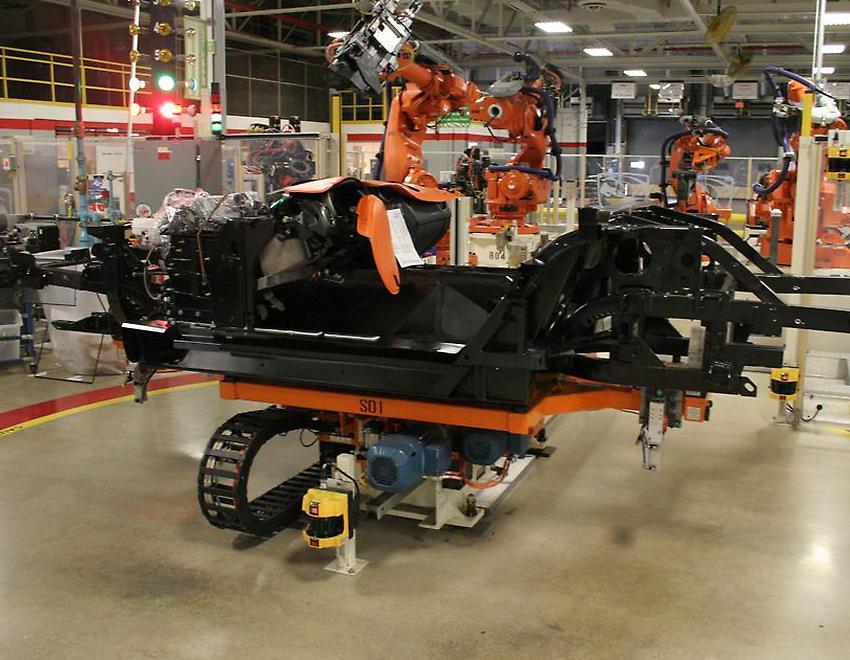
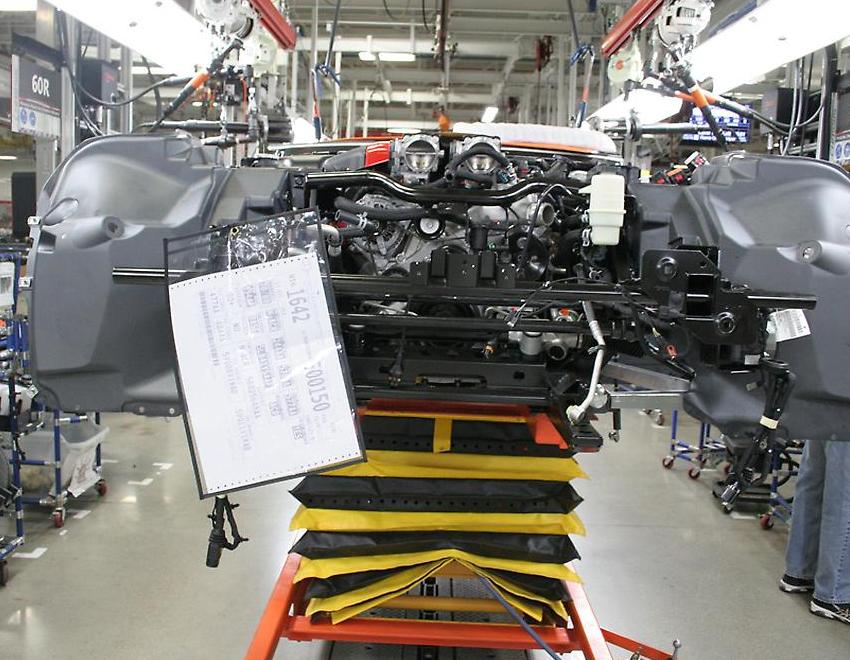
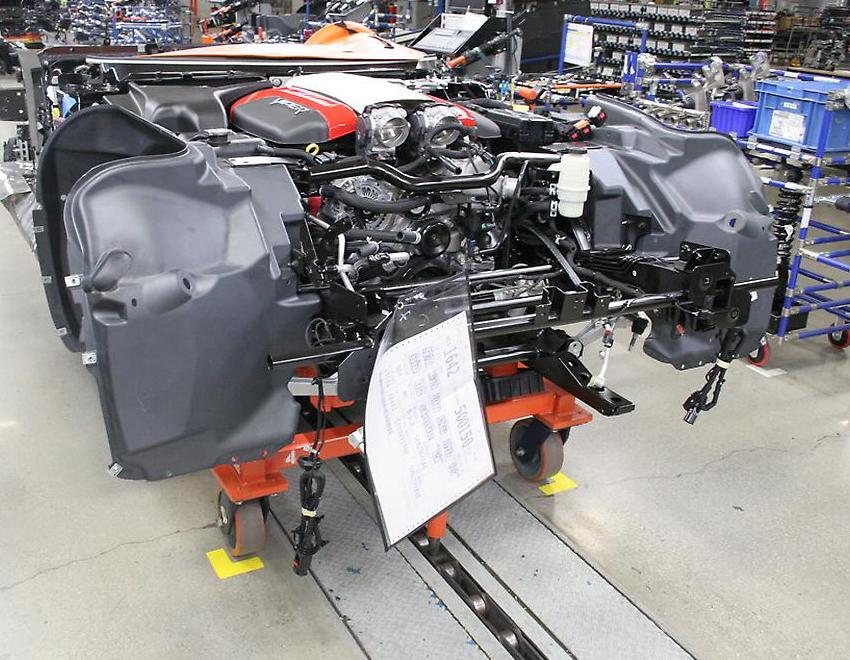
The process for building the Viper starts with the ‘Net Form and Pierce’ machine where four robotic arms measure and pierce holes in the chassis that will be used later on to attach various components and body panels. After the instrument panel (IP) is attached to the frame, it is placed on the ‘chassis line’ where we install a number of components, including the wiring harness, seat belts, speakers, suspension pieces and the wheel/hub assemblies. The Viper’s iconic V10 engine is assembled on a dedicated line adjacent to the main Viper line at Connor Avenue Assembly Plant (CAAP). The 8.4-liter all-aluminum block is the largest used by any production vehicle sold in the US and combines with the crankshaft, pistons, cylinder heads and other components to power your Viper. First, we bolt the massive Tremec six-speed transmission to the V10 engine and together they are dropped into the Viper. They then install the x-brace, finish building the exhaust system and align the suspension. After that the wheels are bolted on, fluids are added, the ECU is programmed and the AC system is charged. Lastly, the chassis is ‘roll tested’ to confirm all the driveline components are working properly.